Task.
Automatic surface defect inspection of metallic parts with 2D inspection methods often causes high false reject rates due to dirt, residues from cleaning liquids or oil and part colour variations. Surface defect inspection on black coated metallic parts is not possible with 2D inspection methods. For such application areas OCTUM developed a new 3D inspection solution based on it`s proven surface defect inspection modules.
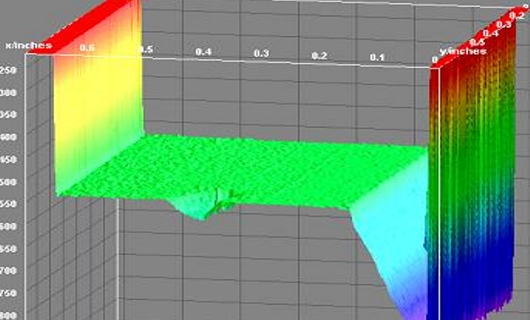
3D image acquisition is performed with a compact sensor based on laser triangulation methods with telecentric optics delivering simultaneously 3D images, brightness and reflectivity images. The use of a telecentric lens enables a very flexible usage of the complete field of view as inspection area including the border regions. No recalibration or post processing is needed and defects look the same anywhere in the image enabling a fast defect classification.
Octum Solution – accurate 3D defect detection.
The system software CV-Inspect was improved enabling processing of 16bit 3D, brightness and reflectivity images with extended defect segmentation and classification procedures. Surface defects appearing as a local 3D deviation from a regular surface like dents, pores, chips, pits, scratches, grooves, grinding defects etc. are detected directly in the 3D space. Contrast defects like discoloration, rust, imprints by contrary are detected in the brightness or reflectivity image. Position compensation for all the different inspection regions calculated for instance in 3D image is transferred automatically to the brightness image and vice versa enabling direct and fast inspections in any image space. Critical defects can be processed in all image channels allowing robust defect classification.
Application areas.
Image acquisition is performed also on dark non reflective surfaces (metal, plastics, casted surfaces and rubber) with up to 13 kHz enabling short cycle times for in-line inspection. The sensor resolution is designed application specific, typical resolutions in x,y,z could be for example 20x20x3µm. With such a resolution also very small surface defects can be detected. Main application areas can be automotive and metal processing industries where high value or safety relevant parts need to be inspected.


