Automatic final inspection of compressor wheels.
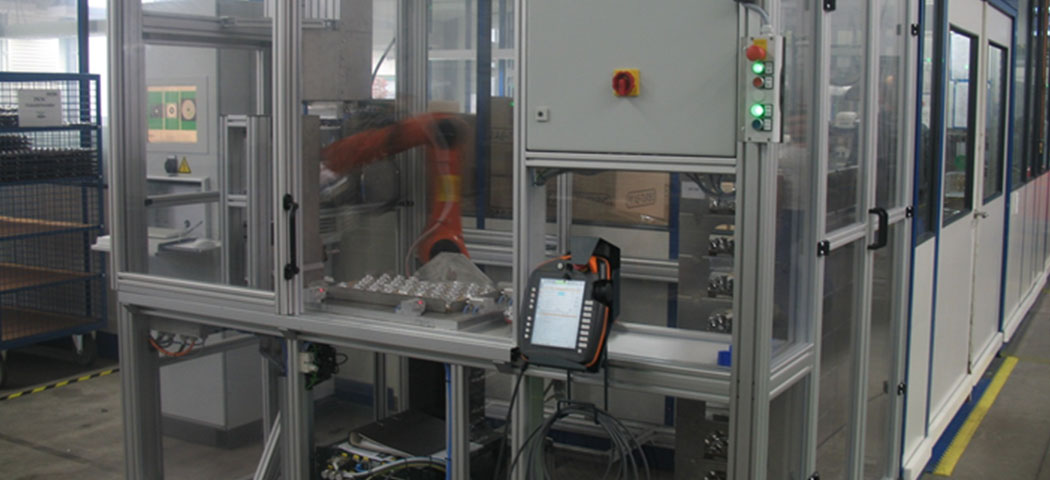
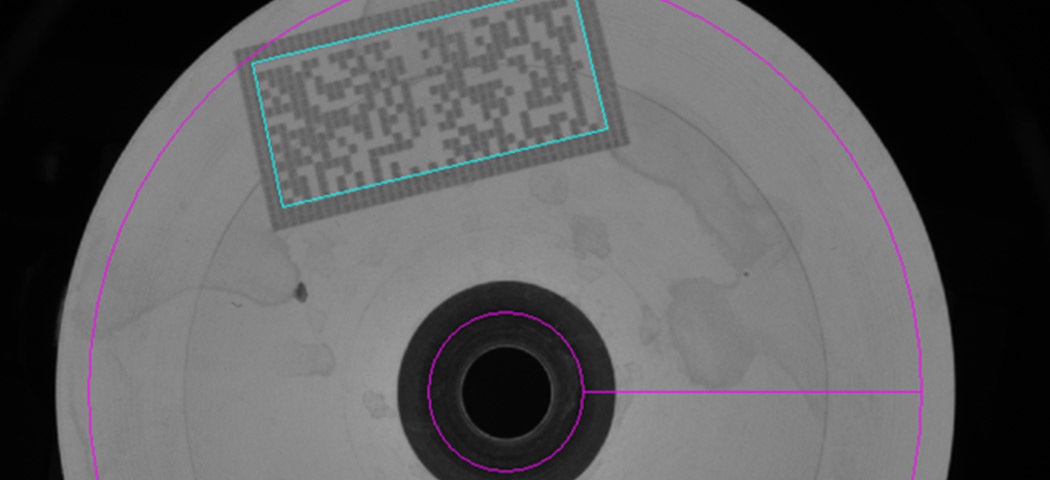
Compressor wheels are key components in turbochargers and ensure that combustion engines are more powerful and efficient. Revolutions of up to 200,000 rpm and temperatures beyond 1000°C place high demands on the material, geometry and imbalance of the compressor wheels. For the company BOOSTER Precision Components GmbH, the compressor wheels are to be automatically identified and tested in the final inspection up to 62mm outer diameter. The complex component geometry, the variance of the surfaces with variable balance taps, the high variety of types with, in some cases, the lowest differentiating features of the types and the extremely variable printing represent a challenge for the machine vision solution.
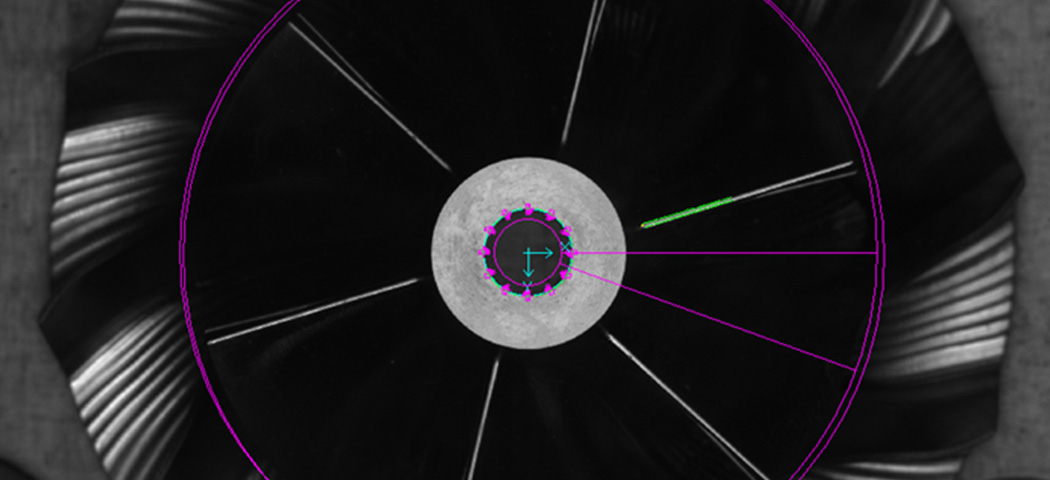
- Measurement of hub diameter (inside and outside) and bore
- Check presence of the chamfer and width of the hub phase
- Verification of blade bending, number and direction of rotation of the blades
- Measurement of the inlet diameter using the blade end points
- Surface inspection of hub surface (dents, scratches, pressure marks...) with masking of any type-specific balancing tappings
- Check for damage to the hub edges
- Determination of the outlet diameter (if available)
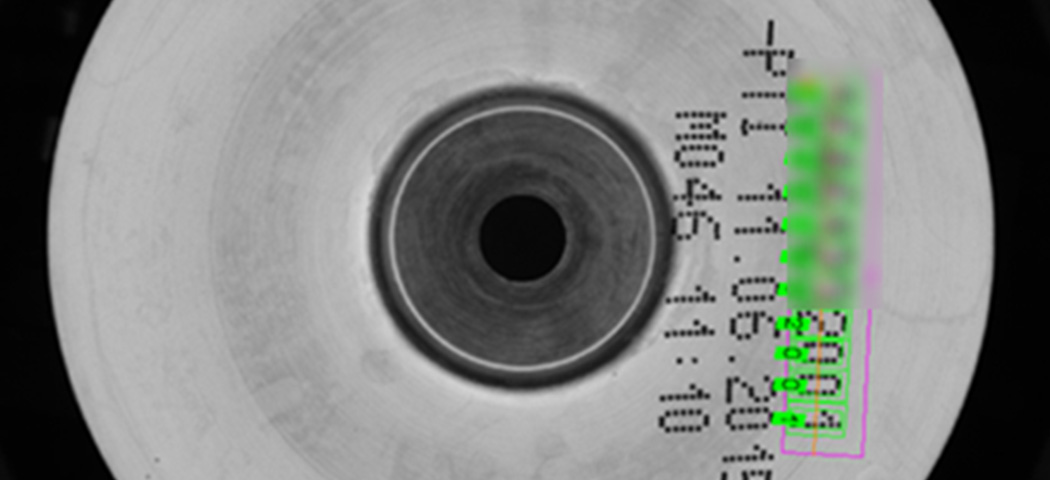
- Verification of plain text printing (OCV) for characters with a font height of 1.5mm and above
This task was solved with a combination of a surface inspection and precise optical measurement with CV_Inspect. Built-in components are 3 camera stations with bi-telecentric optics, high-resolution cameras and adapted LED lighting.


